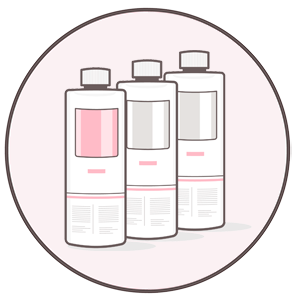
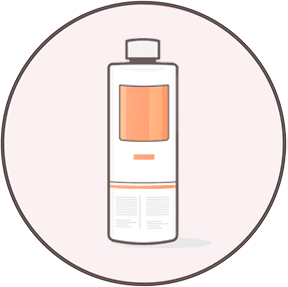
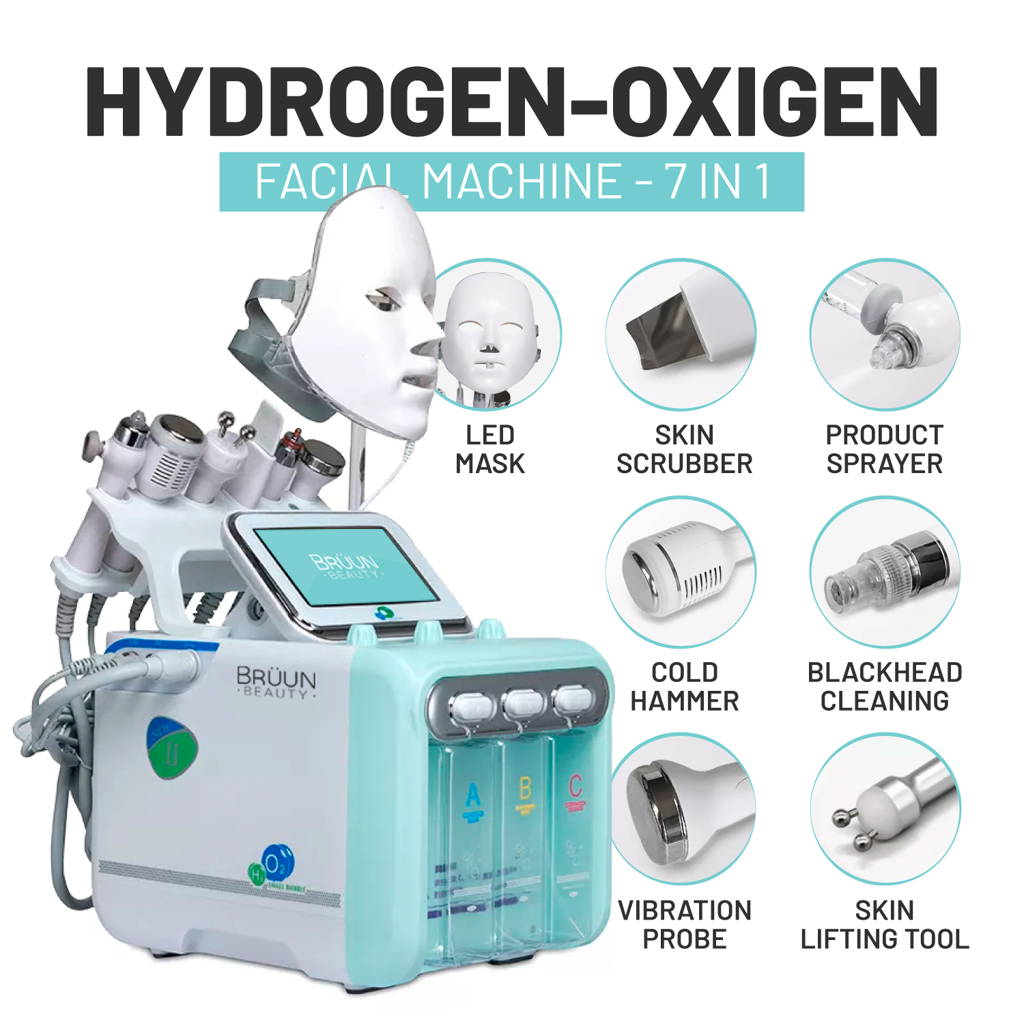
Bruun´s Hydra Oxygen Machine Abrasion Pen works with three front bottles and two more bottles on the back to perform one of nowadays most popular and beneficial facial treatmentsOn the front of the machine, you’ll find bottles A, B and C which are filled with the three liquid solutions that come with the machine. These are AS1, AS2 and AO3Check out how to use them1- First remove the bottles by pressing the button above them and pulling them downwards.2- We recommend always using the same bottle for one liquid solutionBottle A with AS1 Solution (BLUE)Bottle B with AS2 Solution (YELLOW/ORANGE)Bottle C with AO3 Solution (PINK)Find the liquid solutions following this link! 3- BOTTLE AA- Bottle A will contain AS1 SolutionB- Unscrew and remove the lid from the bottle. Fill at least half of the bottle with the solution and put the lid back on and adjust it. Place the bottle back in its position and make sure you hear a “click” sound.C-Turn the center knob and set it on “A” to start operating with that bottle.3- BOTTLE BA- Bottle B will contain AS2 SolutionB- Unscrew and remove the lid from the bottle. Fill at least half of the bottle with the solution and put the lid back on and adjust it. Place the bottle back in its position and make sure you hear a “click” sound.C-Turn the center knob and set it on “B” to start operating with that bottle.5- BOTTLE CA- Bottle C will contain AO3 SolutionB- Unscrew and remove the lid from the bottle. Fill at least half of the bottle with the solution and put the lid back on and adjust it. Place the bottle back in its position and make sure you hear a “click” sound.C-Turn the center knob and set it on “C” to start operating with that bottle.—------------------------------------------------------You’ve just seen how to set and use the front bottles. Now let’s talk about the back bottles.—------------------------------------------------------On the back of the machine there are two bottles.1- “WASTE LIQUID” - it is filled with water when using the abrasion pen2- “H2O2” - it can be filled with distilled water. —----------------------------------------------------------------4- H2O2 BOTTLEa) Unscrew and remove the bottleb) FIll at least half of the bottle with distilled water c) Place the bottle back in its position and fasten it.The bottles must be firmly fastened so that the machine creates the necessary pressure and water and air suction. d) You can purify the water in the H2O2 bottle with the purifying Blue Light. Just press the option “H202” on the screen and it will start working. You can also let it on while you do the treatment.e) In order to use this bottle, turn the central knob and set it on “D”—-----------5- “WASTE LIQUID” BOTTLEWhen using the Abrasion Pen, the used water goes into the “waste liquid” bottle. c) When the waste liquid bottle is full, the machine will inform you by displaying a red bottle on the screen, which means you must remove the dirty water from the bottle. Your abrasion pen will stop working when this happens as it won’t have a container where to discard the water.d) Unscrew and remove the waste liquid bottle from the machinee) Empty the bottle by discarding the used water.f) Place back the empty water liquid bottle and fasten it. The alert sign will disappear from the screen and you’ll be able to use the abrasion pen again.
2- COLD HAMMERPlug the COLD HAMMER connector to the socket that says COLD. Press it and screw it tight.3- SPRAY GUNPlug the SPRAY GUN connector to the outlet that says SPRAY. Once the connector has been fastened, fill the vial with the serum or solution of your choice and attach it to the sprayer making a little pressure.4- CAVITATION // ULTRASOUNDPlug the CAVITATION connector into the socket that says ULTRASOUND. Press it and screw it tight.5- SCRUBBER / SPATULA A- The Skin Scrubber is protected by a cover you must remove before using itB- Plug the connector to the socket that says SCRUBBER. Press it and screw it tight.6- ABRASION A- Before connecting the abrasion handle, we must assemble it. attach a filter to it as well as the tip we want to use. First, attach the round filter to the top of the abrasion pen and then, do the same with the tip you’d like to use. There are 6 different tips, which can all be used for all skin types. Choose the one that best adapts to your preferences.B- Once the handle is assembled, Plug the abrasion connector into the socket that says ABRASION. Press it and screw it tight.7 LED COLORS MASKTo connect it, insert the connector into the socket behind the led screen. Press it and screw it tight.
While the abrasion pen, cold hammer and spray gun are simpler and similar among each other.Skin Scrubber1 Set the intensity you’d like to work with. We recommend starting with low intensity. 2 Select the working mode: continuous or intermittent 3 Start the treatment (You can change the intensity or working mode if necessary ) 4 Turn off the handle once the treatment is over.CavitationThis tool works similarly as you can set its intensity and working mode and change them during the treatment.You can also turn it on and off using both, the handle or the screen. Turn off the handle once the treatment is over.Remember to set the machine on 0 before turning it off.-RFThe radiofrequency tool is used in the same way. Adjust its intensity and working mode from the handle or the screen and adapt the treatments to suit your needs.Again, remember to set the handle on 0 before turning it off.LED MASKThe intensity of the led mask can be set in the same way as the other tools, but its working mode is different.There are two options: Flash mode- the light changes its color constantlyColor mode- the color changes manually every time you press the button. Red, green, blue, yellow, violet, cyan, white and start all over again. You can start this tool and turn it off using the screenABRASIONUse the abrasion pen with the following knobs: water - air - liquidsWe recommend starting the treatment by setting the water flow and air suction at minimum or medium intensity and selecting the bottle you want to use. You can start and turn off the abrasion pen using the touch screen or by pressing the button in handleCOLD HAMMERselect this tool on the screen or just press the button in the handle. Wait for a couple of minutes until the tool is cold enough to start the treatment.Make sure the vents are not obstructedTurn it off when the treatment is over.SPRAY GUN This tool can also be set from both, the screen or the handle. Use it with the vial pointing upwards.Store it with the vial pointing downwards.TIMEYou can also set the time of the treatment with the correspondent buttons either before or during the treatment.H2O2Press the H2O2 button to sanitize the water of tube D with its blue light. You can use it and stop it whenever you want.
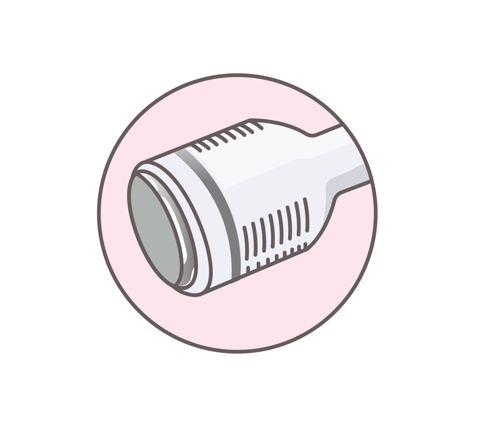
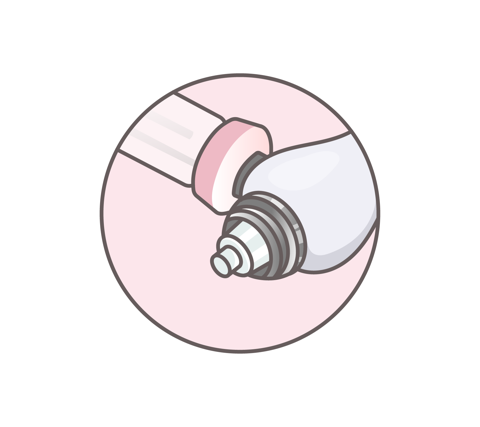
1) SPRAY GUNThe spray gun has a silicon edge to attach a vial.A) VIALBruun’s machine includes two vials. You can keep the spare one in a safe place and use it as a replacement, or change the vial depending on the product you want to use.To install the vial, just fill it with a tonic or liquid solution and attach it to the spray handle. To remove it, just pull the vial downwards.B) NEEDLEThe device includes a needle to open the spray gun in case it gets clogged. Poke the hole of the sprayer with the needle either to unclog it or just to clean it after each use.2) ABRASION PENThe abrasion pen works together with the liquid solutions found in the machine’s bottles. Before starting with the treatment, make sure each of the abrasion pen’s parts is well set. These parts include an O-ring, a filter and the tipsA- O-ringThe pen requires an O-ring, which prevents water from leaking during water suction. You may need to replace it eventually if it gets damaged. To do so, remove the old one and replace it with one of the spare O-rings.B-FiltersAfter some uses you will need to replace the filter of your pen. To do so, remove the old one, place the spare round filter on the top of the pen and press it slightly with your fingers. The central part will come off and you would just need to place the tip of your choice on top.C-TIPSThere are 6 types of tips available for your abrasion pen and they all adapt to every type of skin and liquids.Choose the tip you want to use and after attaching the filter to the pen, put the tip on top and press it to fasten it.Every tip has a different shape: plain, at an angle or spiraled, allowing estheticians to work comfortably and adapting to different skins.You can even change the tipduring the treatment by pulling the tip upwards and replacing it with the new one.1 ) SKIN SCRUBBERA- CoverRemove its cover before beginning the treatment2) FUSEIf your machine does not turn on, you might need to replace its fuse. To do so follow these steps:- Turn it off and unplug it.- Using a screwdriver, remove the compartment that is located between the switch and the plug.- There, you will find the damaged fuse. Remove it and replace it with the spare one by pressing it.- Put the compartment back into the machine- Plug the connector again and check the machine works.Fuse: F25AL250V