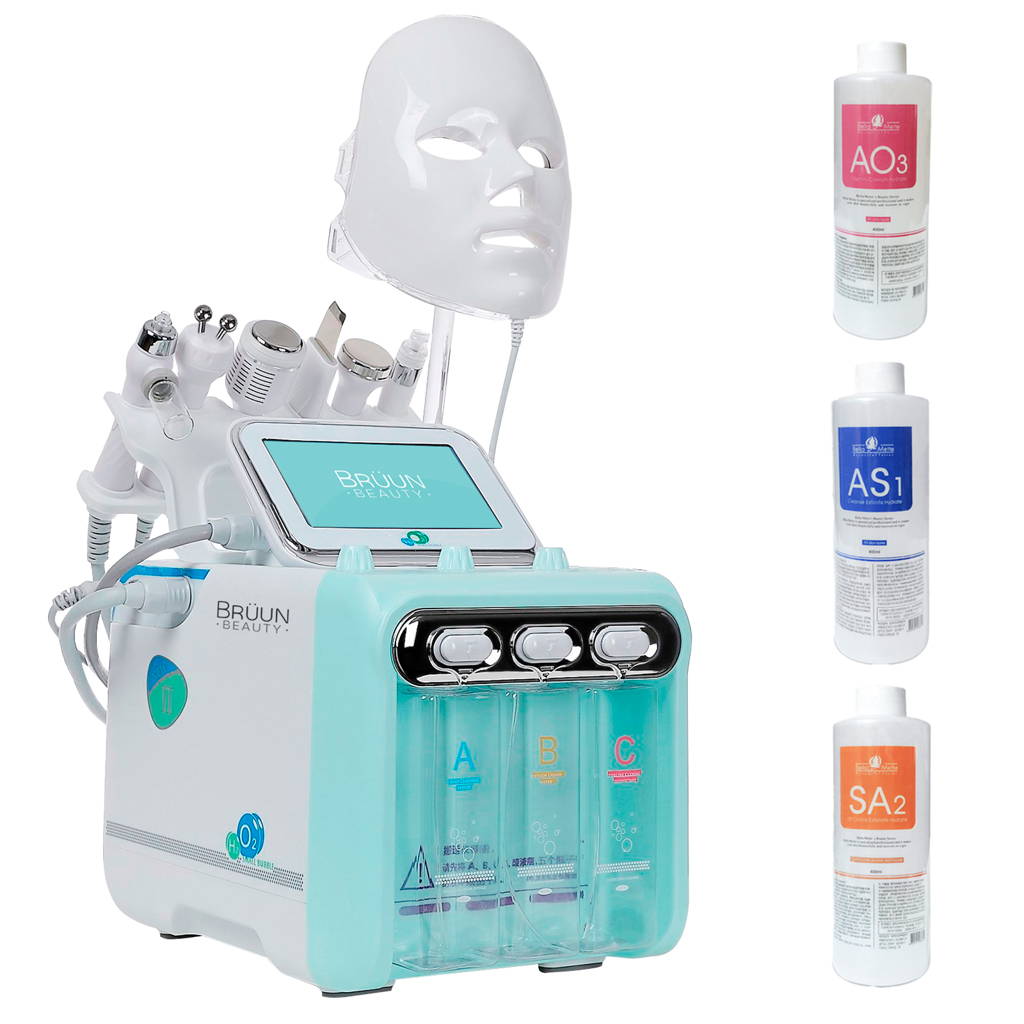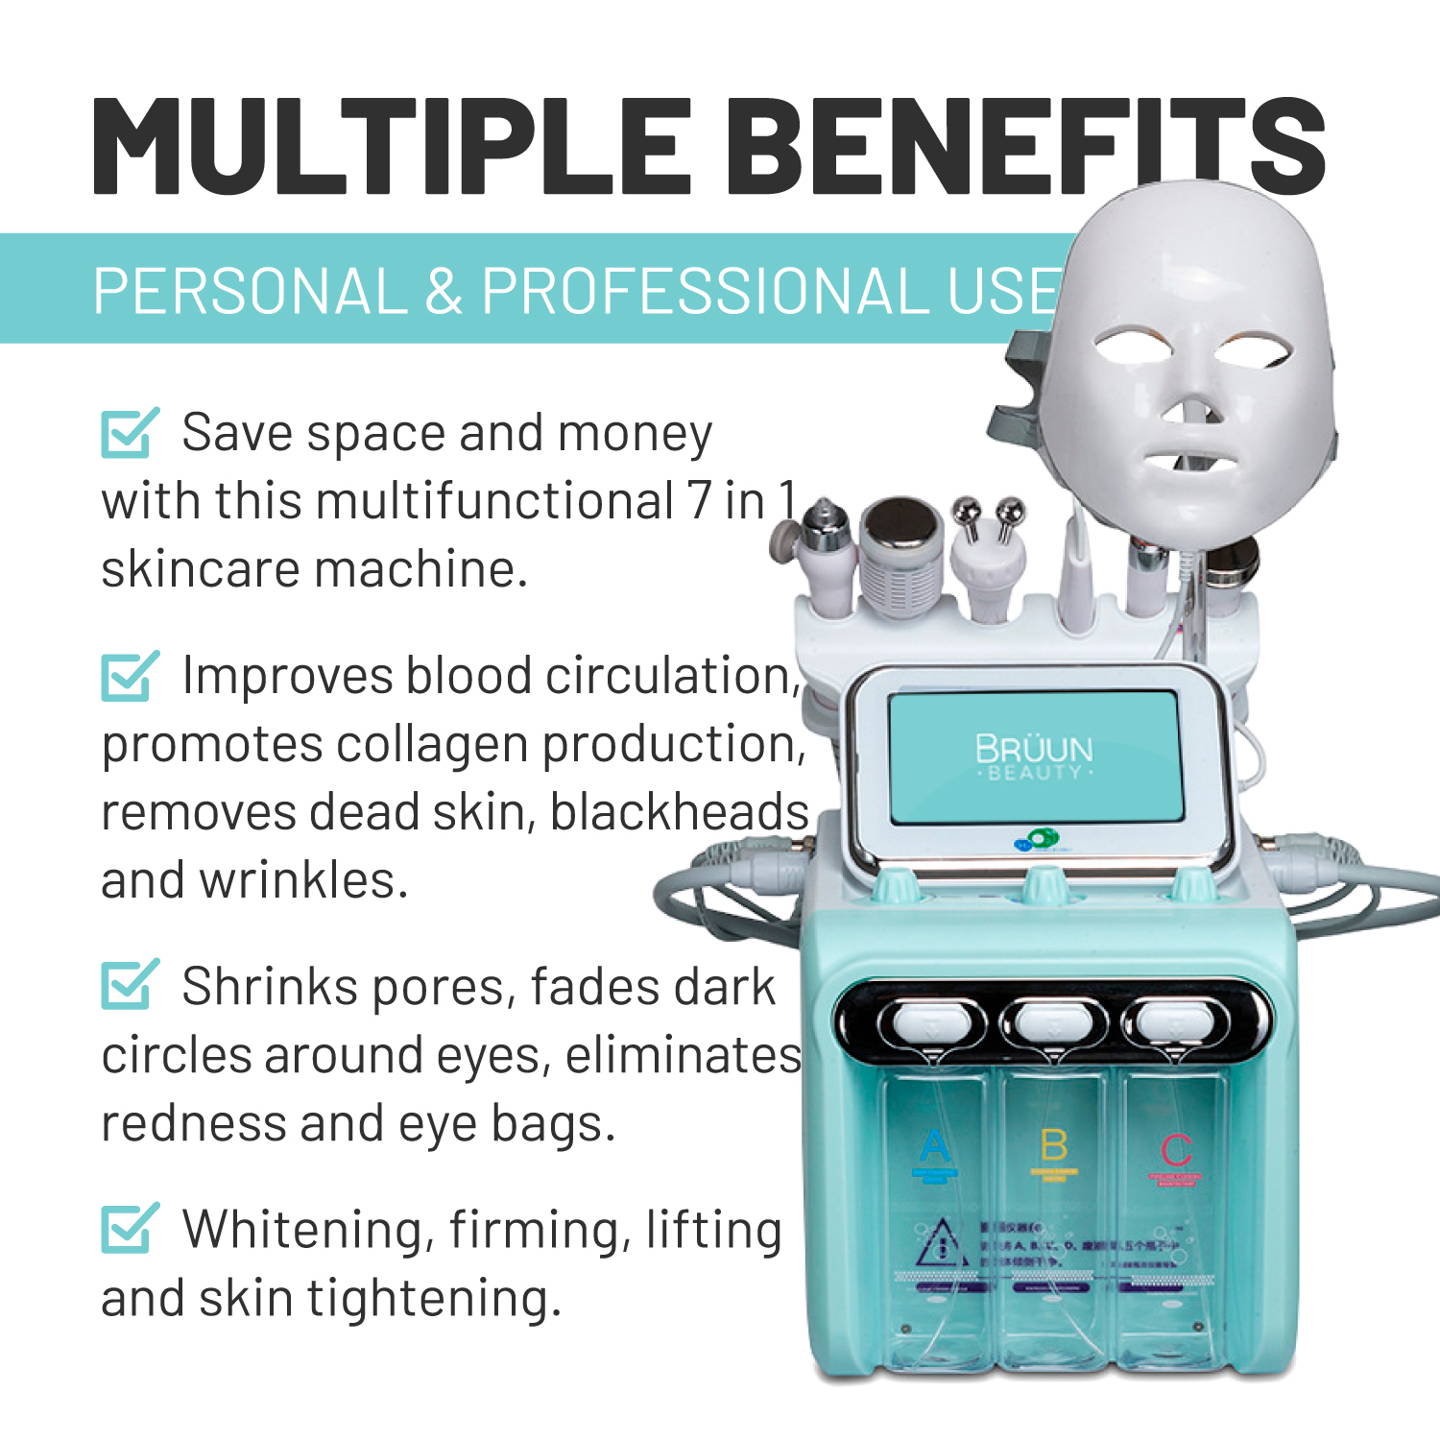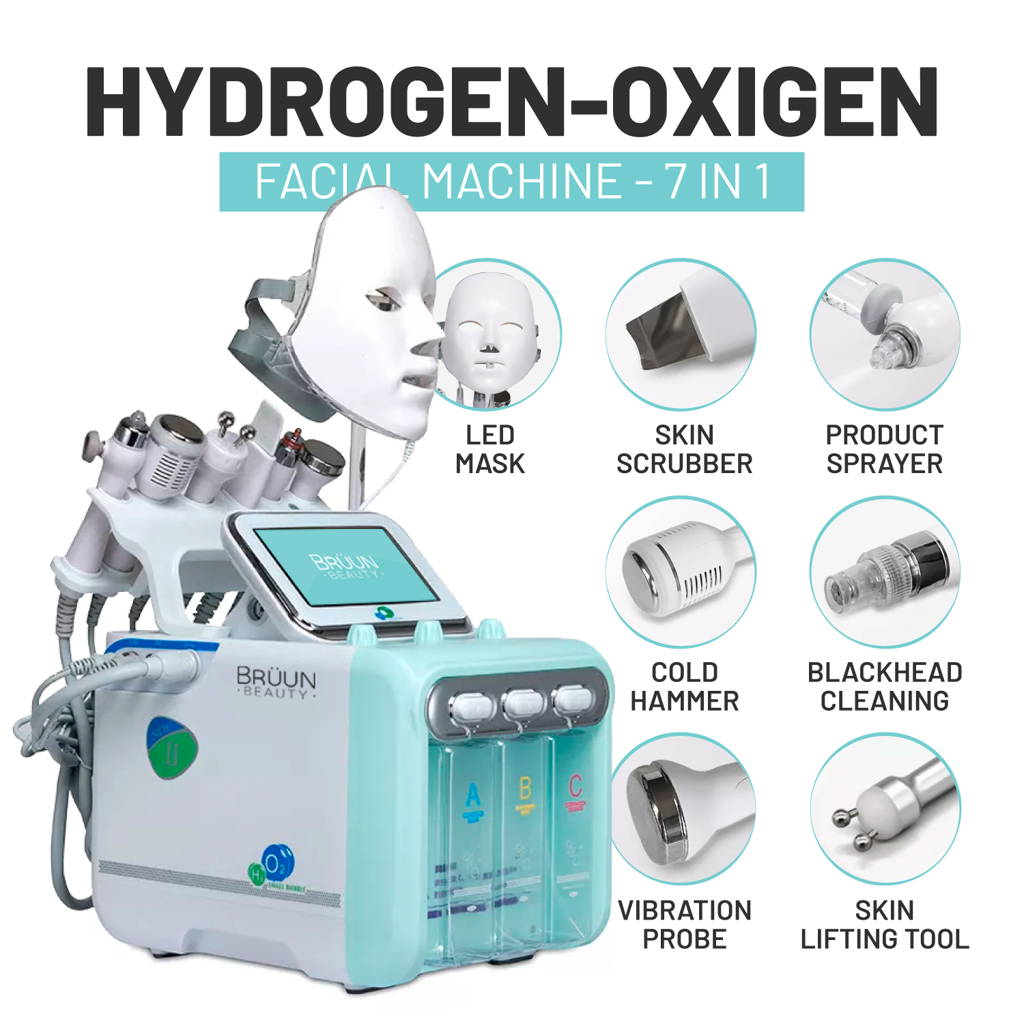
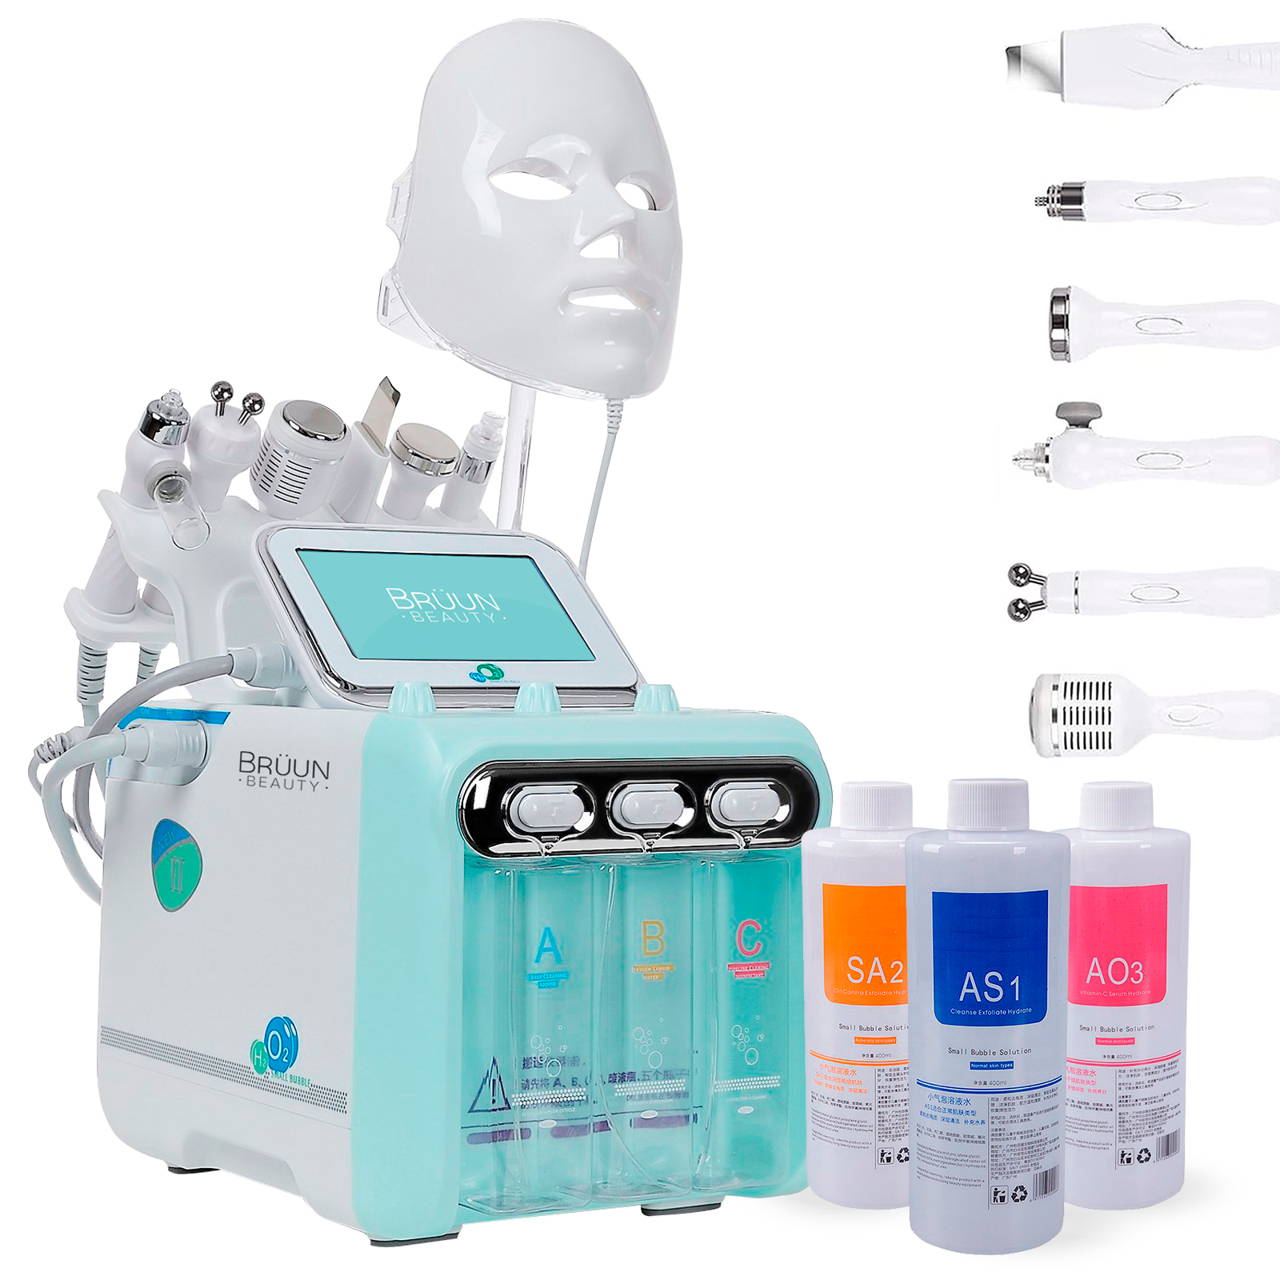

Bruun´s Hydra Oxygen Machine Abrasion Pen works with three front bottles and two more bottles on the back to perform one of nowadays most popular and beneficial facial treatments
On the front of the machine, you’ll find bottles A, B and C which are filled with the three liquid solutions that come with the machine. These are AS1, AS2 and AO3
Check out how to use them
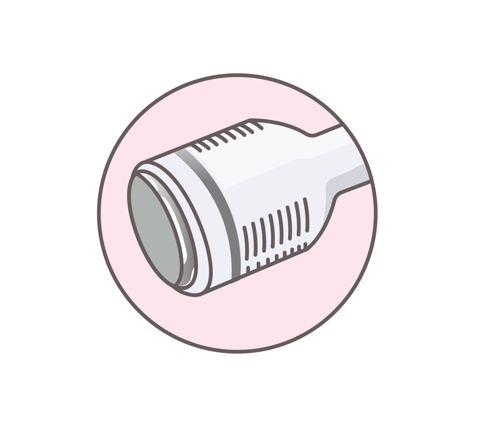
1- First remove the bottles by pressing the button above them and pulling them downwards.
2- We recommend always using the same bottle for one liquid solution
Bottle A with AS1 Solution (BLUE)
Bottle B with AS2 Solution (YELLOW/ORANGE)
Bottle C with AO3 Solution (PINK)
Find the liquid solutions following this link!
3- BOTTLE A
A- Bottle A will contain AS1 Solution
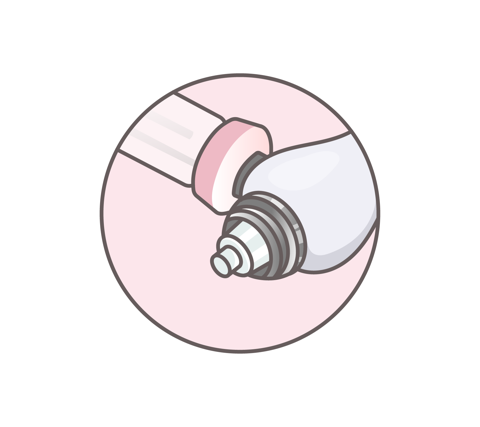
B- Unscrew and remove the lid from the bottle. Fill at least half of the bottle with the solution and put the lid back on and adjust it. Place the bottle back in its position and make sure you hear a “click” sound.
C-Turn the center knob and set it on “A” to start operating with that bottle.
3- BOTTLE B
A- Bottle B will contain AS2 Solution
B- Unscrew and remove the lid from the bottle. Fill at least half of the bottle with the solution and put the lid back on and adjust it. Place the bottle back in its position and make sure you hear a “click” sound.
C-Turn the center knob and set it on “B” to start operating with that bottle.
5- BOTTLE C
A- Bottle C will contain AO3 Solution
B- Unscrew and remove the lid from the bottle. Fill at least half of the bottle with the solution and put the lid back on and adjust it. Place the bottle back in its position and make sure you hear a “click” sound.
C-Turn the center knob and set it on “C” to start operating with that bottle.
—------------------------------------------------------
You’ve just seen how to set and use the front bottles. Now let’s talk about the back bottles.
—------------------------------------------------------
On the back of the machine there are two bottles.
1- “WASTE LIQUID” - it is filled with water when using the abrasion pen
2- “H2O2” - it can be filled with distilled water.
—----------------------------------------------------------------
4- H2O2 BOTTLE
a) Unscrew and remove the bottle
b) FIll at least half of the bottle with distilled water
c) Place the bottle back in its position and fasten it.
The bottles must be firmly fastened so that the machine creates the necessary pressure and water and air suction.
d) You can purify the water in the H2O2 bottle with the purifying Blue Light. Just press the option “H202” on the screen and it will start working. You can also let it on while you do the treatment.
e) In order to use this bottle, turn the central knob and set it on “D”
—-----------
5- “WASTE LIQUID” BOTTLE
When using the Abrasion Pen, the used water goes into the “waste liquid” bottle.
c) When the waste liquid bottle is full, the machine will inform you by displaying a red bottle on the screen, which means you must remove the dirty water from the bottle. Your abrasion pen will stop working when this happens as it won’t have a container where to discard the water.
d) Unscrew and remove the waste liquid bottle from the machine
e) Empty the bottle by discarding the used water.
f) Place back the empty water liquid bottle and fasten it. The alert sign will disappear from the screen and you’ll be able to use the abrasion pen again.